Scenario Creation for Maleme, Crete (The Final Part)
This blog entry should be the last in our ‘So you want to design a Wargame?’
We will wrap up the series by going through the steps to balance a scenario and tidy it up for final release.
The first step when balancing a scenario is decide what is ‘victory’. The starting point is to look at what the historical opponents achieved (or didn’t!). A number of factor come into play here. What were the historical orders – take a location, hold till relieved, delay the attacker or other considerations? Was there a time limit – did an objective have to be taken on some schedule? Does that mean there is a point the scenario logically should finish?
For the purposes of our scenario, achieving what the German’s did during the first day of the attack on Maleme will constitute a minor victory.
What did the Germans achieve? They managed the following by the end of the day;
- They had cleared the Western and Southern side of the airfield. The Eastern side remained in Allied hands.
- The cleared much of the top of Kavkazia Hill, particularly Point 107 which overlooked the airfield.
- They had penetrated Maleme/Pirgos village in sufficient numbers to convince Lt Colonel Andrews to withdraw overnight. Ultimately. this was the most fateful decision of the whole campaign.
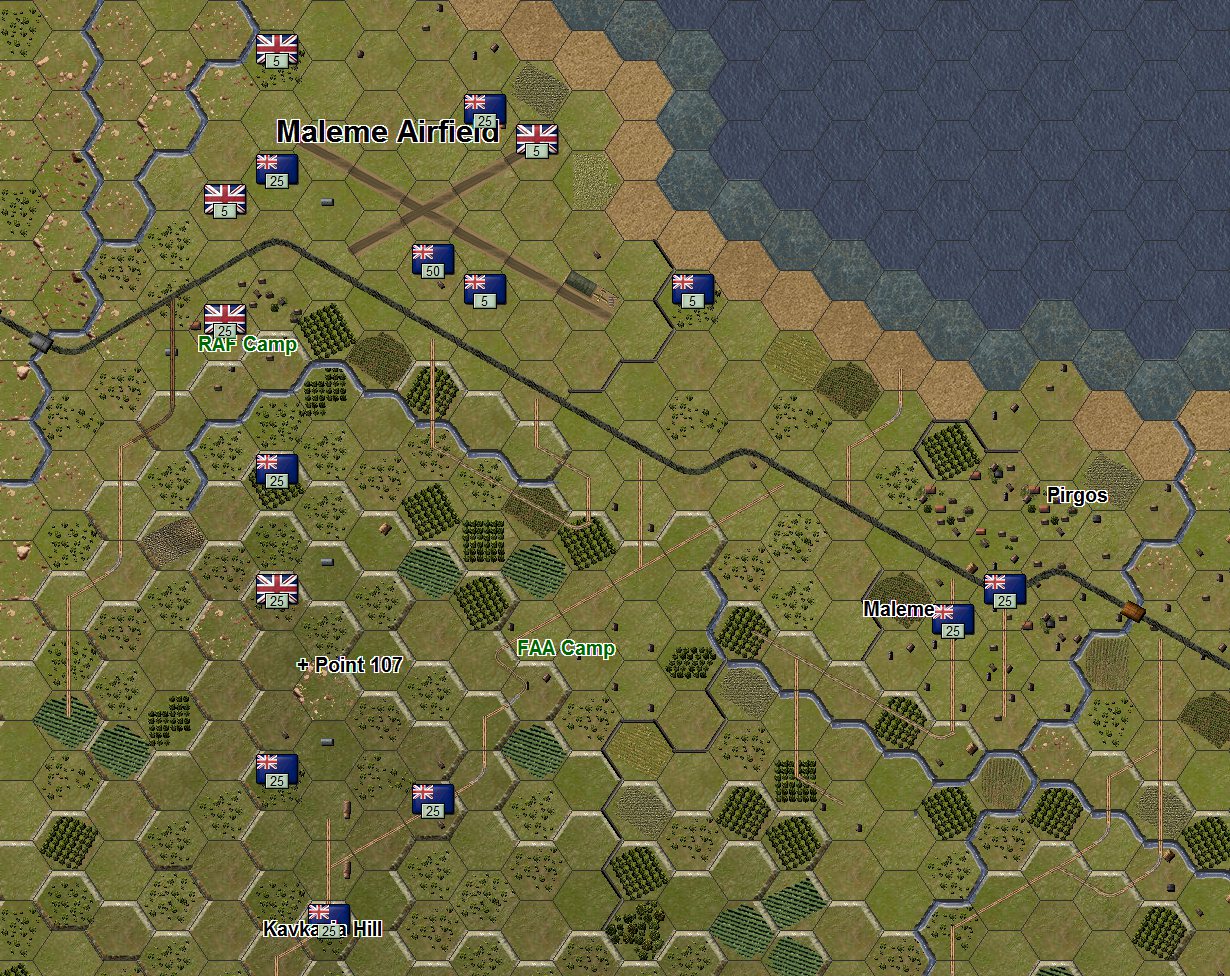
With the above in mind, the initial distribution of objectives and their values is shown below;
There are 330 victory points in total with 125 on Kavkazia Hill, 145 around Maleme airfield, 50 in Maleme/Pirgos villages and 5 (not shown) at the AMES (radar) location further to the south.
Here are the locations that were taken by the Germans during May 20th and these hexes (or others of equivalent value) will form the basis for a minor victory. Taking additional victory hexes will be additive for a major victory;
In total there are 245 points that are circled, with a further 85 available for capture.
The victory value for objectives needs to be done with consideration to the actual victory point value of the forces involved. A decision has to be made on what is more important - taking an objective or inflicting/reducing losses. Where losses are a consideration, more emphasis on the actual number of points from losing men will outweigh victory location values. This would mean lower values for victory locations as compared to a scenario where capture and advance are more important.
In the case of our scenario, victory locations are important so they will not be watered down. For example a 25 point victory location is the equivalent value of losing 150 men (roughly a company). Any victory location that is captured while losing less than 150 men will be additive.
The other consideration when looking at victory values is understanding whether there is a disparity in the size of forces on each side. In the case of this scenario there is significantly more German forces than Allies with a differential of approximately 200 points - 356 points to 151;
With significantly more forces, it would be normal to handicap the Germans due to their superiority. Normally a base line of the differential is used as a starting point – in this case the aforementioned 200 points. But there is one other consideration. As the Germans are arriving by air, there is significant losses that will be taken before the player has a chance to use his forces. These represent battle casualties while in the air or operational losses endemic with airborne insertions.
As seen below, approximately 50 points are lost from the German strength, just in the act of parachuting in. These losses will lower the manpower differential closer to 150 points. Essentially after these losses the Axis player starts the scenario at -50 victory points;
So taking all the above into account, the Minor Victory points are set initially at 150 points. This is based on the following;
- Taking 245 points in objectives
- Losing 50 points in the initial parachute landings
- Including a further 45 point buffer to reflect the need to move forward and attack. The German forces have to ‘go in harm’s way’ and will take additional casualties that have to be factored into the target score.
Setting the other victory levels is determined around the Minor Victory target, but the minor victory is the key value initially determined.
The last factor to be included is how many turns the players have to achieve their objectives. Ten turns have been set as an initial value to see what can be achieved in that time.
The next step is to actually play the game and see what scores result. There are a number of ways this can happen.
- Have the AI play against itself
- Have a player play against the AI
- Have players play other players
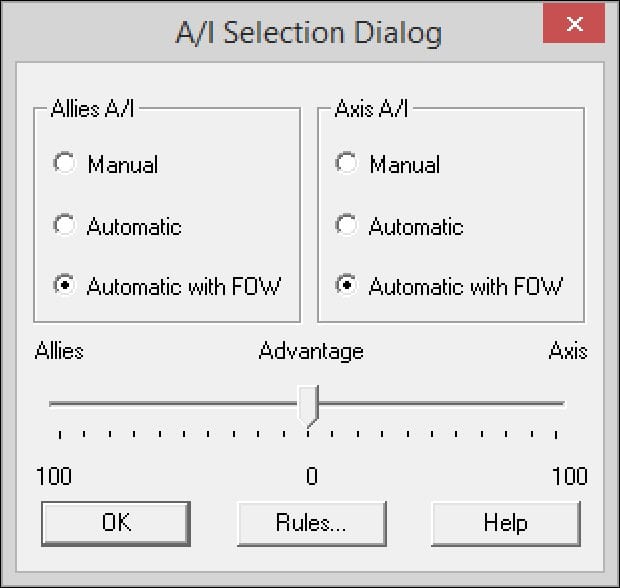
The quickest and simplest way is to let the AI run through the scenario and see what values result. When starting the game, the AI can be configured to play itself as follows;
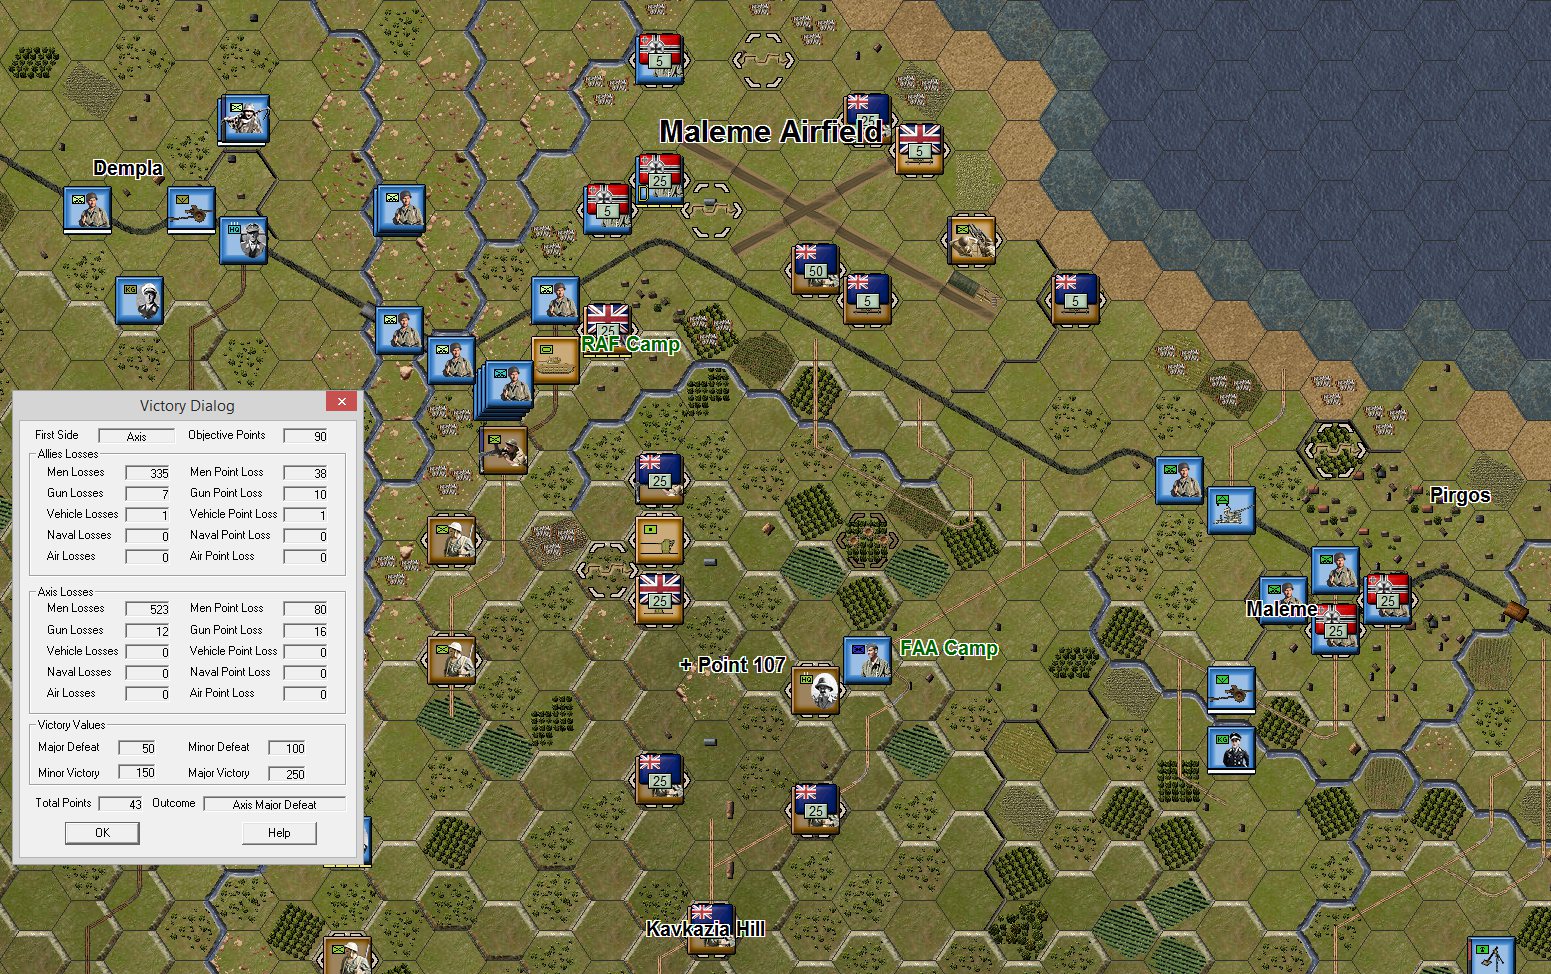
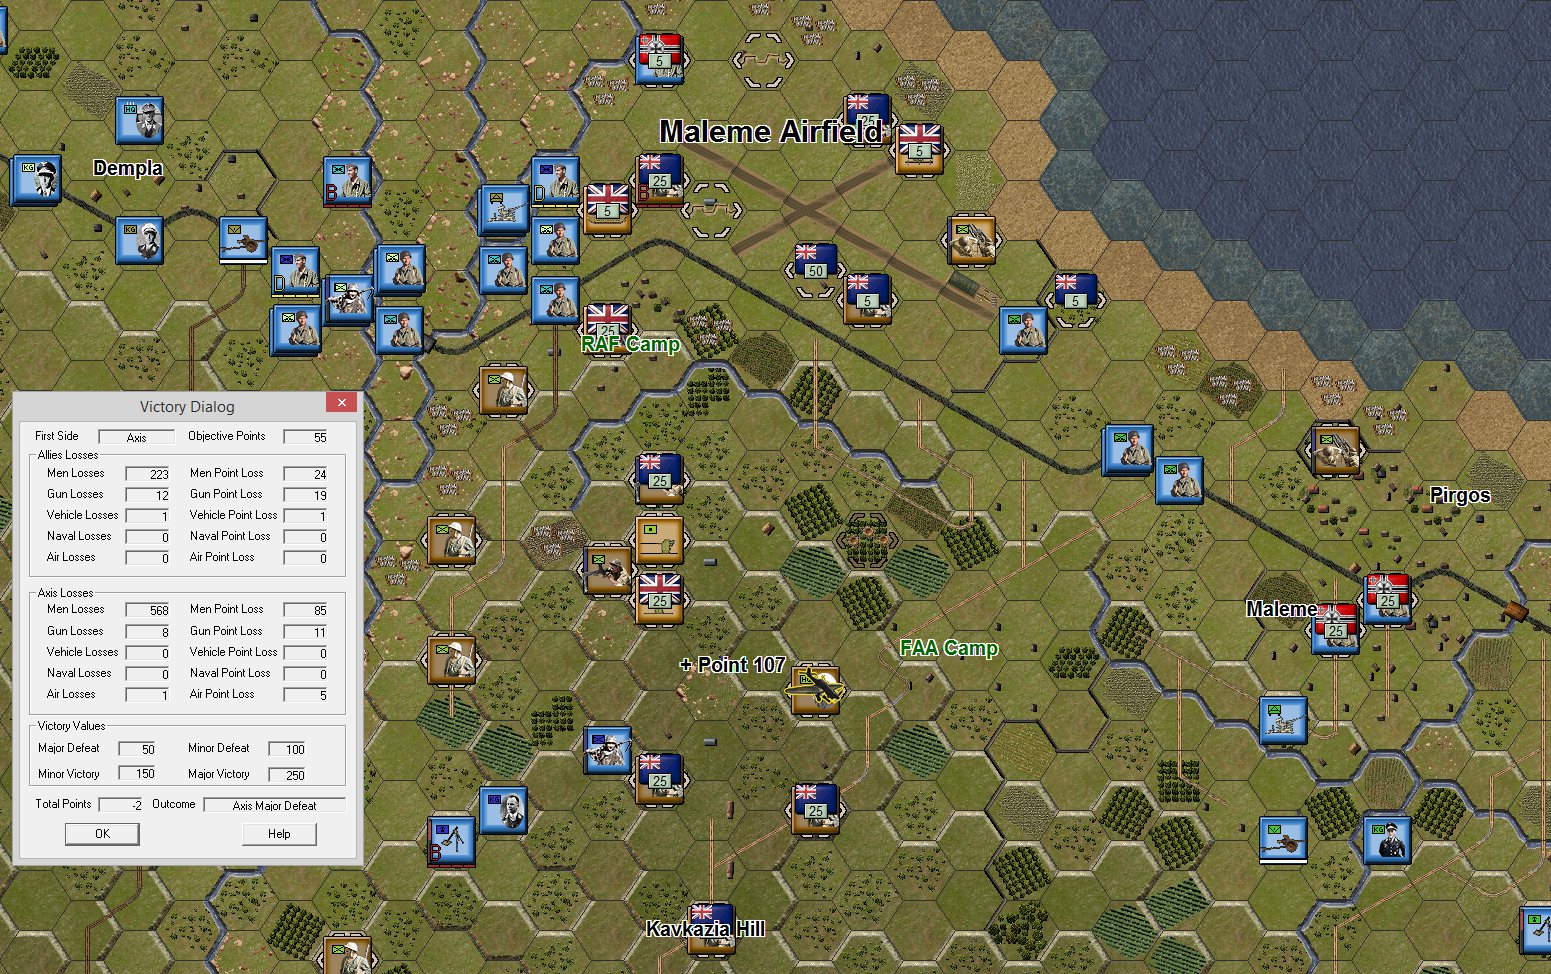
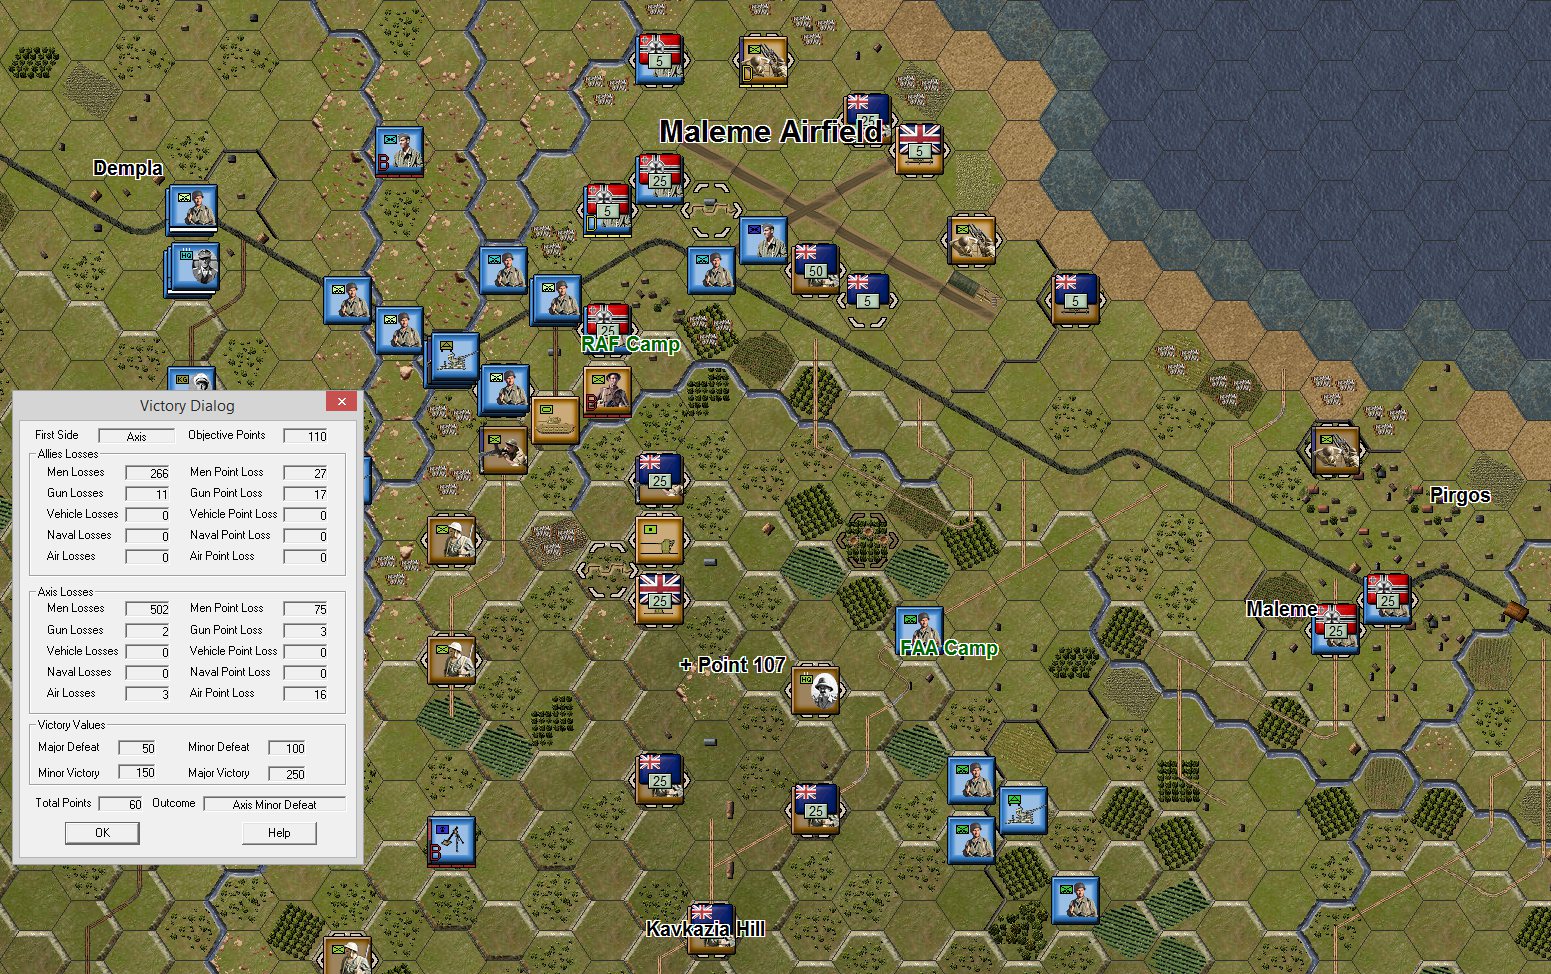
Here is an example of the results from five AI vs AI games.
Game 1 has the following score and victory locations taken;
Game 2 is as follows;
Game 3;
Game 4;
Game 5;
A number of things are evident from the AI vs AI play throughs;
- At no point can the attacking German AI win with the current victory levels. Once completed, the recommendation would be for the scenario to be either player vs the Allied AI or player head to head. An Allied player would probably wipe the attacking German AI. A special AI version of the scenario would be needed if we wanted the German AI to have a chance of winning.
- Losses are fairly consistent for both sides with a differential of approximately -60 between the two sides
- Victory locations are also consistent with four of the five games at approximately 100 points.
- The AI was close to taking at least one or two more 25 point victory locations. Something a human player would do.
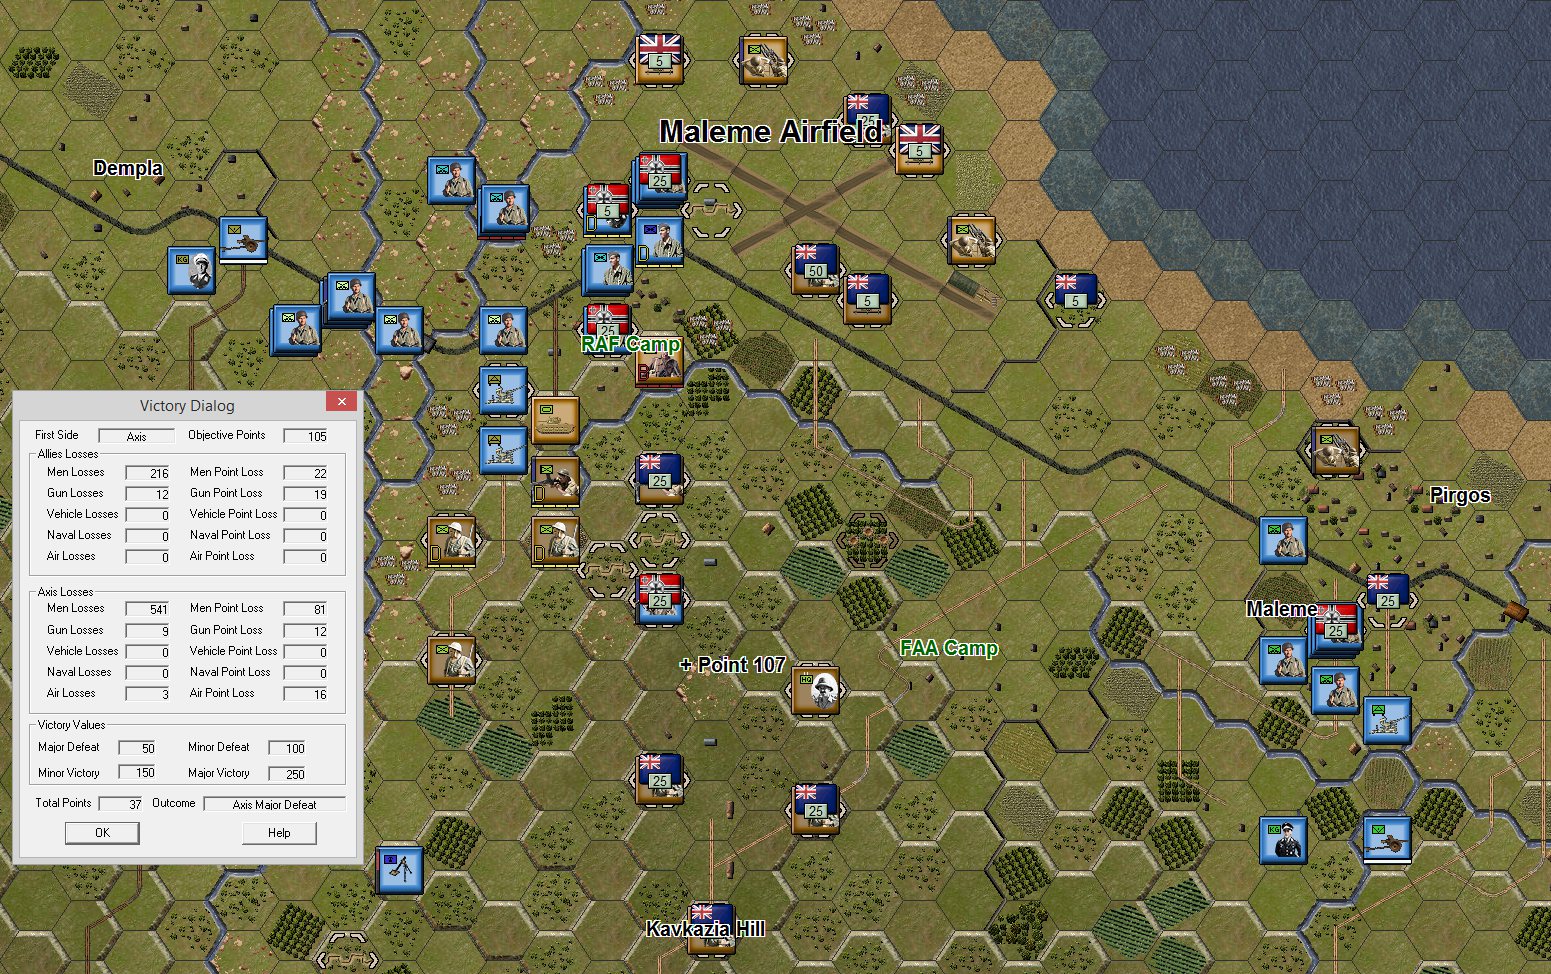
Next a play through as the German player vs the Allied AI.
The scenario finishes with a German Minor Victory. The losses are similar to those taken in the AI vs AI games. The difference here are the victory locations taken. With 225 location victory points this tips the game in the German’s favour. Many more locations have fallen due to the players ability to both consolidate his forces and isolate and break much more quickly each objective. Even so, the game was only won in the penultimate turn, though another 25 points would have been taken if the game had run to 11 turns.
All in all this play through and others before it show that the current victory point levels are right for a German player vs the Allied AI.
The next step is to run player vs player games. Usually these will be run with both players playing a scenario and then reversing the roles. Usually we would have a number of different players’ cycle through a particular scenario, collate the results and determine the changes that need to be made.
Based upon these results a decision on whether a separate player vs player version of the scenario is created can be made, usually with possible adjustments to the victory points and/or the number of turns. Ideally, a single version of the scenario is all that is required, but we have the flexibility to go either way.
With the testing completed we have confirmed the victory levels, numbers of turns and the timing of each major phase in the battle. If it has approximated history and given both sides a chance at victory we will usually be happy to release it.
That concludes this series of blogs for ‘So you want to design a Wargame?’
We have a new range of posts covering other areas that we hope will be of interest to you all and look forward to your feedback.







Leave a comment